

Take Control of Your Editing Process: How to Enable Editor Branching with Cloudcannon Projects?
A Comprehensive Guide to Streamlining Your Editing Workflow with Cloudcannon Projects


Table of contents
Are you looking to make changes to your CloudCannon project but don't want them to affect your production site just yet? One solution is to create a branch where you can preview and share these changes before merging them into your main project.
Projects allow you to gather together many sites from the same repository. You may create a primary branch that editors can use to branch out their own sites and merge them back in later.
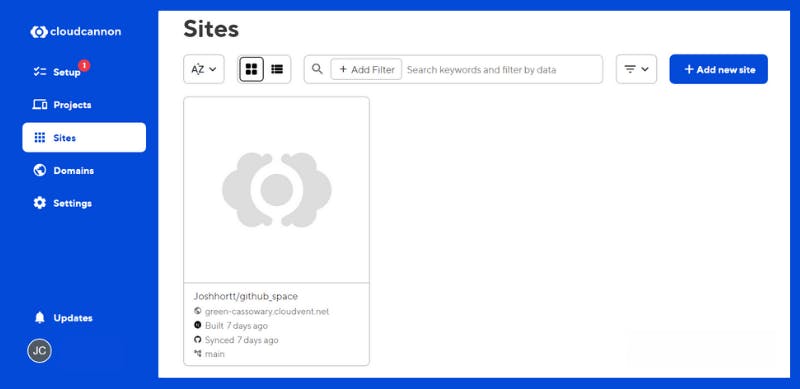
While we're currently utilizing the sites feature on GitHub Space for our sole site, we need to take things up a notch by creating a dedicated project for our site to live under.
Hands on Lab
Effort: 30 mins
This guide will walk through the steps required to get your Next.js site you previously built up and running with a branching workflow for content editing, allowing you to stage and publish new updates on a separate branch site and approve changes before merging into GitHub.
Objectives
After completing this reading, you will be able to:
- Create a new CloudCannon project
- Add a new site to enable branching workflows for content editing
- Stage and publish new content updates on a new branch site
- Approve changes before merging into GitHub
Prerequisites
If you intend to run this lab on your system, please ensure you have the following:
- A Internet connection
- A GitHub account.
- The latest version of Visual Studio Code is installed on your machine.
- The cloned demo website starter deployed to CloudCannon already up and running.
Note: This is a follow-up tutorial, it does require you to have created the previous Hands-on-Lab´s, (part 1 & part 2) as covered in the articles How to deploy Jamstack sites to cloudcannon and How to Configure cloudcannon collections to enable Post & Page content editing? to make the most out of it.
Let's get started!
Creating a new cloudcannon project
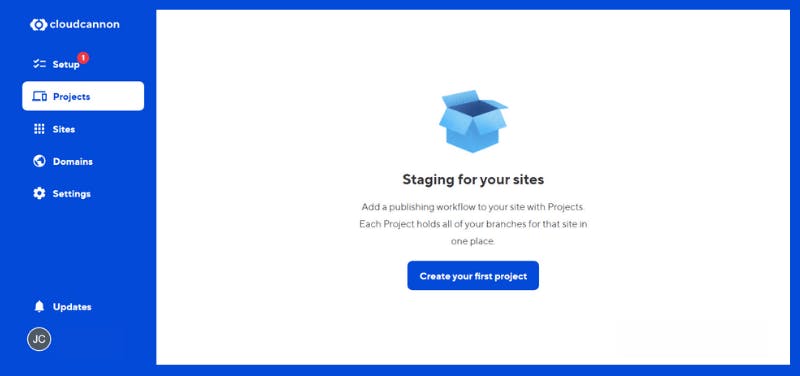
1 - To kick things off, simply click Create Your First Project.
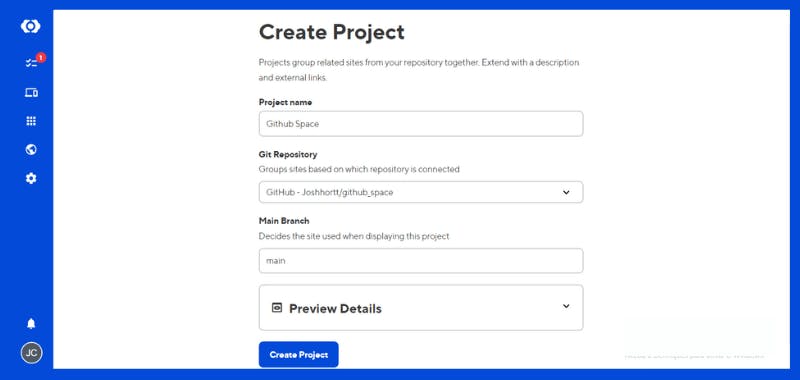
We will name this GitHub Space as my Project name. We now have more set up options available, such as selecting a Git repository. Currently, we only have our CloudCannon app connected, which is the one we want to use. Our intended Main Branch is our production branch, named main. It is the existing site we have here and we want it to be exactly as it is.
Note: It is possible to view the Preview Details, but they are currently not necessary for our current objective.
2 - We're just going to hit Create Project.
We can see that's going to automatically update our new project with our existing site.
Now let's continue with the best part!
Adding a new site to enable branching workflows for content editing
After reloading the page for the Sites section, we'll notice that we can add a new site for enabling branching workflows in content editing! With this feature, we can create multiple sites, using our existing GitHub Space site as the main branch. Whenever we want to create a new branch, we'll simply create a new site for our Developer Branches or Changes Staged, thus facilitating easier sharing.
Before we get started, it's important to note that branching workflows are only available for team accounts. If you're working through this, make sure you're on the appropriate plan. See cloudcannon account plans for more details.
Note:You might get a warning saying Upgrade your plan to get access to Branching workflows
After you subscribe to one of the plans you will be able to add a new Branch.
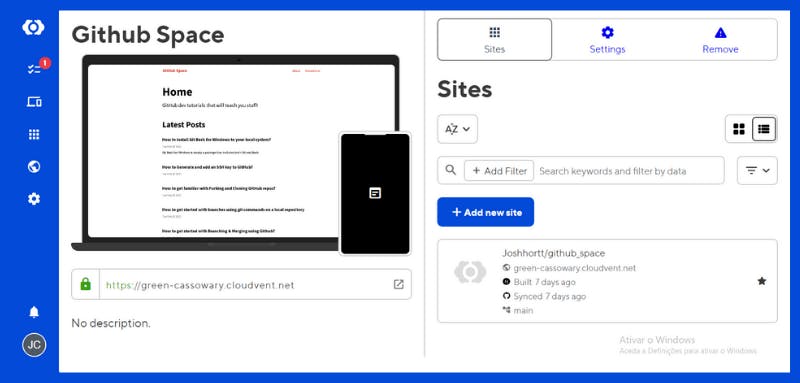
Now once we reload the page for the site section we can see that we now have the ability to Add a new site.
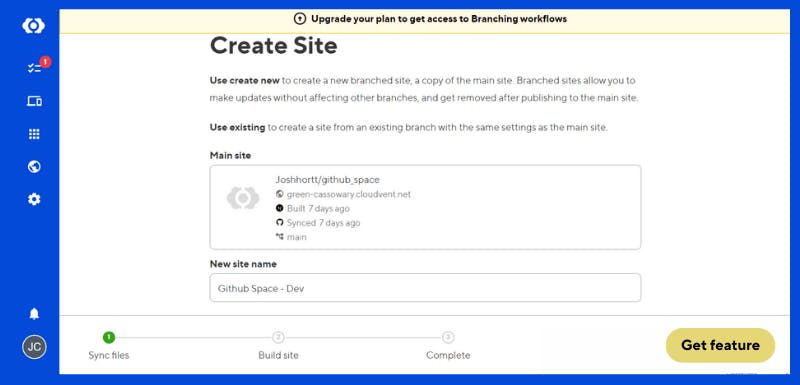
1 - Adding a new site is a breeze - simply click on +Add new site.
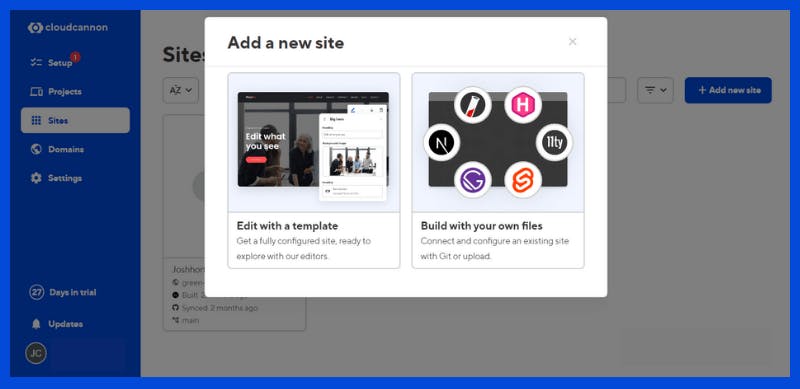
2 - A new window will appear with two options: Edit with a Template or Build with your own files. Select Build with your own files.
3 - Enter your New site name, simply give it a name like: GitHub Space-Branch.
4 - Then at File source, choose the option GitHub repository
5 - Then select your Repository
6 - Now moving into the Branch setup just select Create a new Branch.
7 - Leave the Source branch just like it is main
8 - Enter a New branch name, the same as above: GitHub Space-Branch
9 - Finally click on the Create Site button at the bottom of the window.

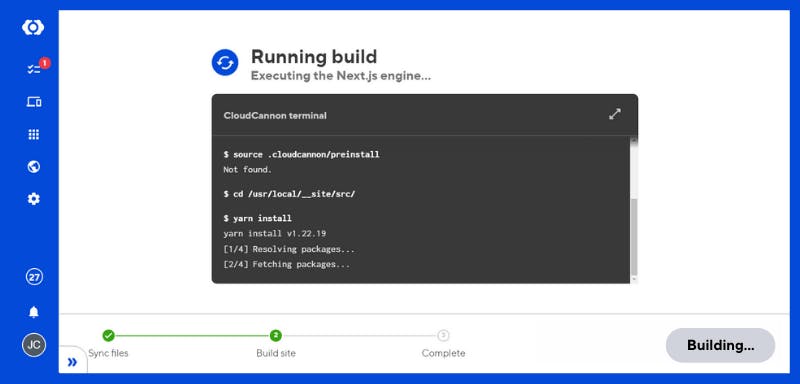
After we click the button we can see that CloudCannon is already starting to work through our existing build configuration. It's aiming to build and deploy the new branch into a preview that will be available at a different URL.
10 - Once your site is set up, you'll have a new URL where you can stage and publish any new content changes on the branch.
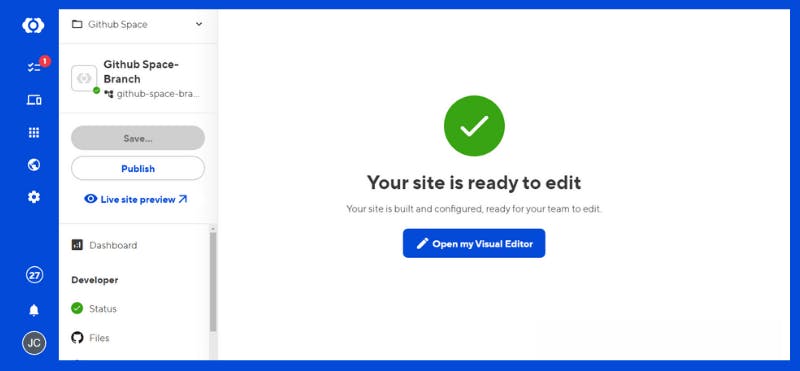
Staging and publishing new content updates on a new branch site
CloudCannon's staging and publishing feature allows developers to seamlessly make changes to their website without affecting the live production site. With this feature, developers can create a branch site to work on new content changes and test them out in a safe and controlled environment. Once they are satisfied with the changes, they can easily publish the new content to the live site with just a few clicks. This efficient workflow saves time and eliminates the risk of making mistakes on the live site.
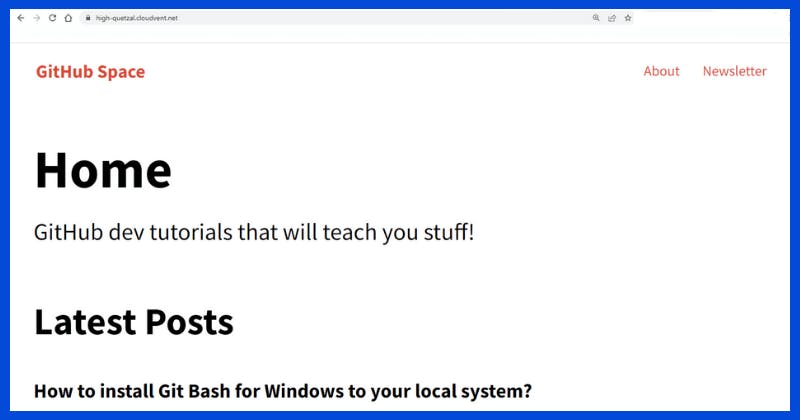
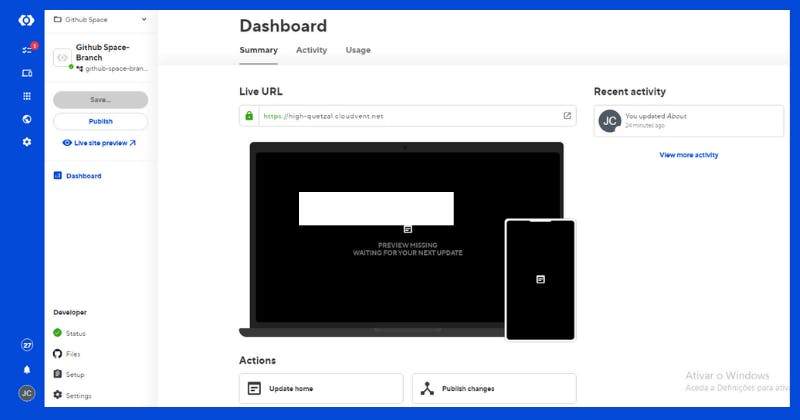
1 - Once your site is ready, we now have our URL: high-quetzal.cloudvent.net. We'll open it in a new tab, and, it looks exactly like it did before.
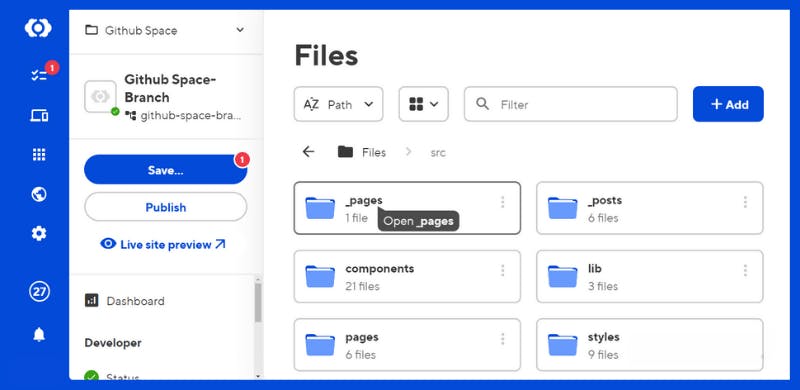
2 - But this time if I wanted to go to our _pages section inside of our src folder.
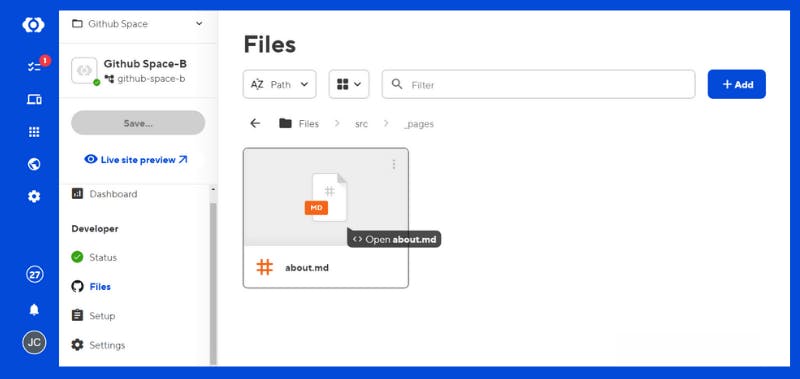
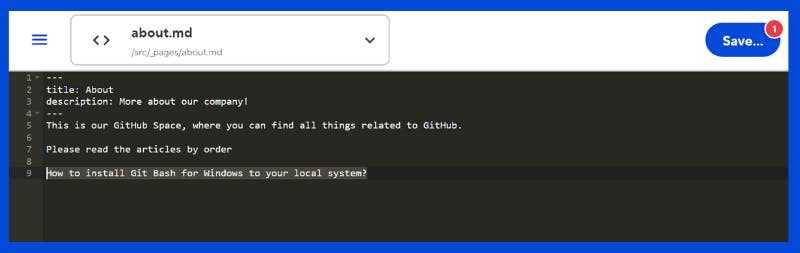
3 - And edit our markdown file about.md again. Click over about.md to open up the File editor.
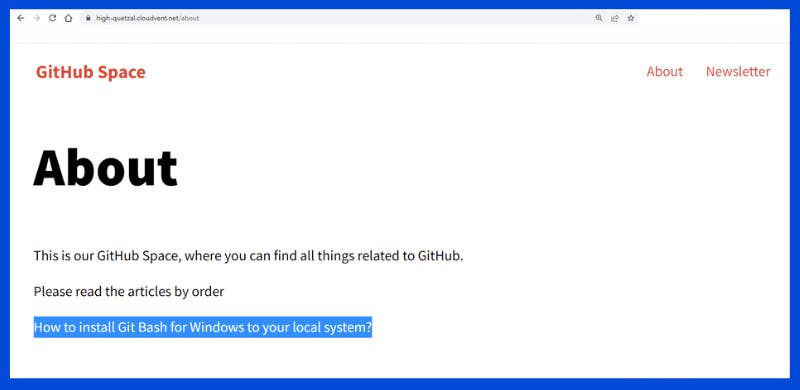
4 - After we open up our about.md file, we want to add another line with some text. Lets just write the name of our firts article on top:
How to install Git Bash for Windows to your local system?
5 - Click on Save. A new window will appear with Review your changes. We just hit Save once more.
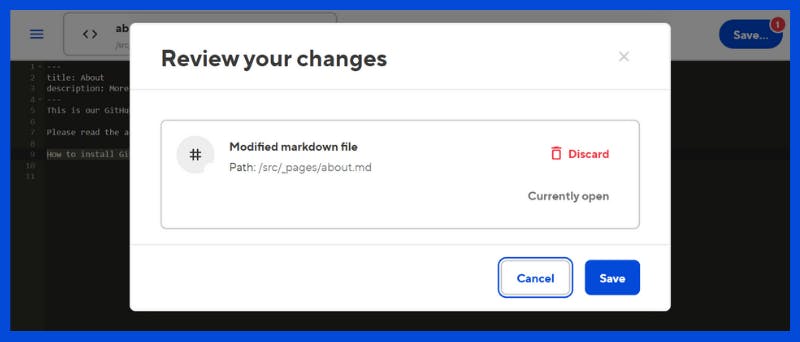
This will commit the changes, just like before, but this time the changes will be committed to the branch that we just created, called GitHub Space-Branch.
6 - (Optional) If we choose to see the Build, we just need to hit Build Output, and close the window after it's done.

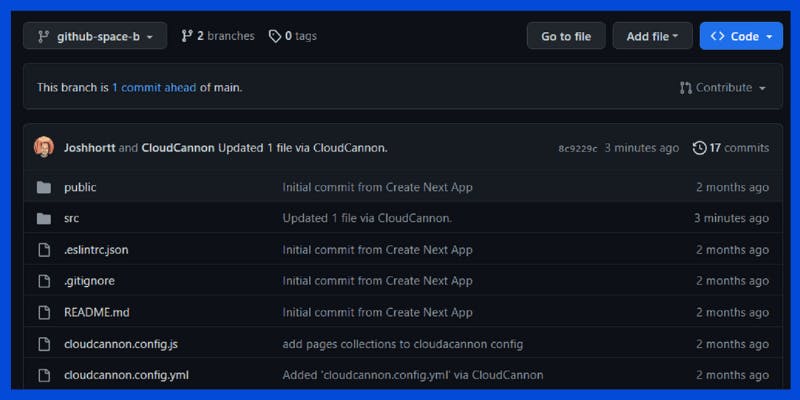
7 - If we look over on github we can see that separate branch github-space-branch.
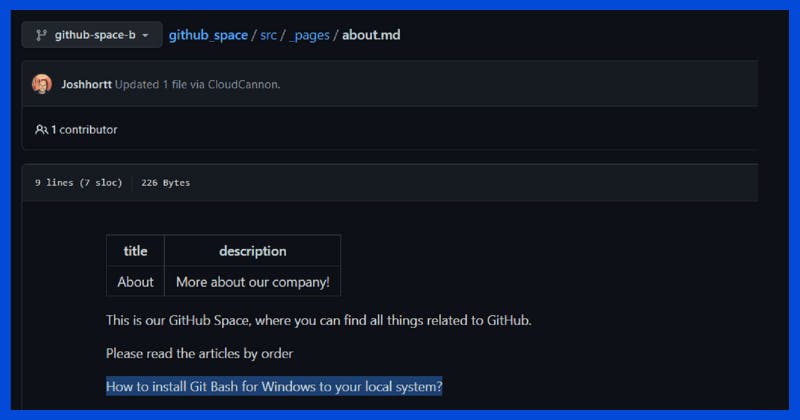
8 - After selecting it, we can now view the recently published updated content. We notice a new line containing the text, 'How to install Git Bash for Windows to your local system?'.
9 - Going back to our CloudCannon Status summary page, we can open up our new branch URL high-quetzal.cloudvent.net site, to see the changes.
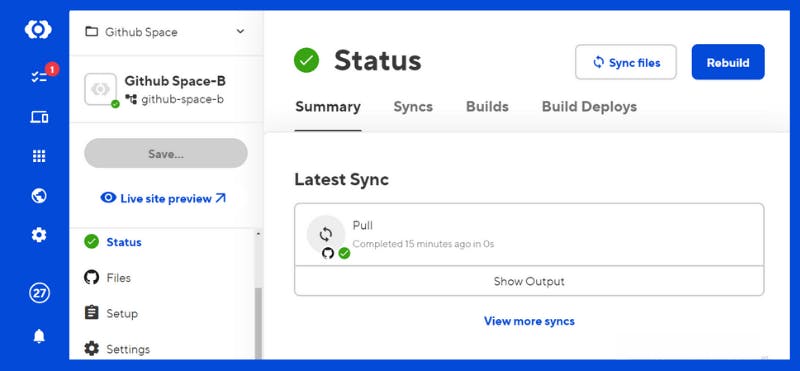
10 - We can go to our about page, and we can see that new line already visible online.
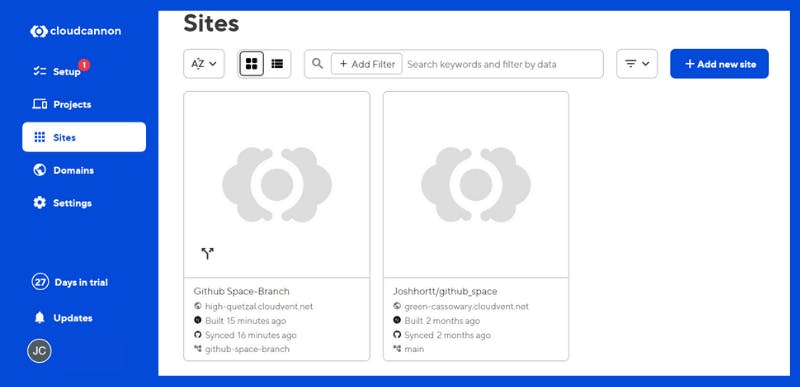
11 - If we navigate quickly back to our Sites, we have GitHub Space and GitHub Space-Branch visible -The main branch and the new branch.
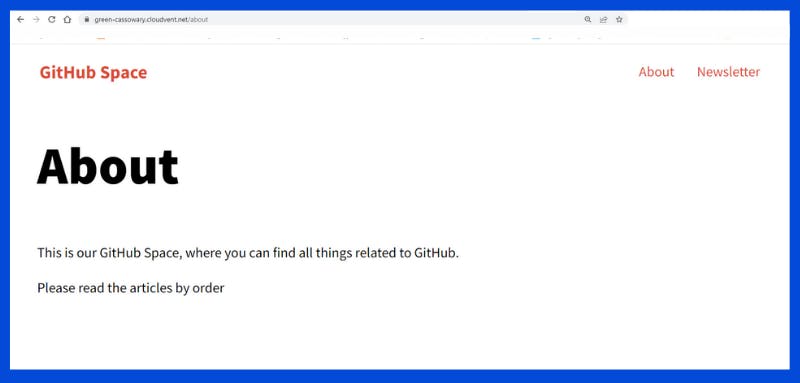
12 - After selecting our original GitHub Space site we can open up our URL https://green-cassowary.cloudvent.net.
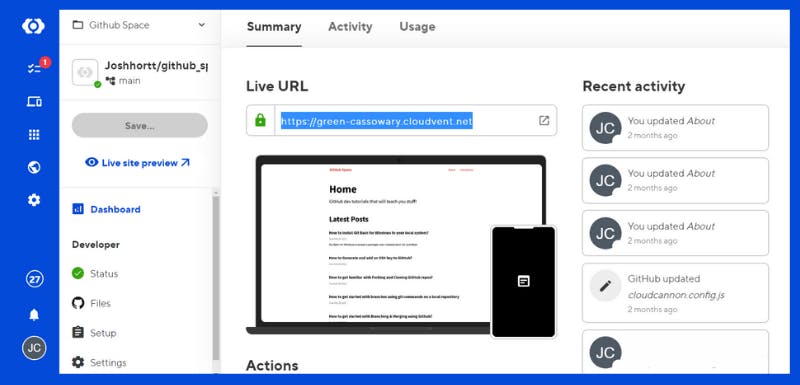
13 - And see on the about page that we still don't have those changes we did on our GitHub Space-Branch.
The importance of approving changes before merging into Git
CloudCannon's importance of approving changes before Merging into Git is a crucial aspect of any software development project.
The process involves reviewing code changes made by team members before merging them into the main branch of the code repository.
This ensures that all changes are thoroughly tested and do not disrupt the existing code and functionality.
Failing to approve changes can result in bugs, errors, and in some cases, complete system crashes.
By implementing a change approval process, developers can avoid these issues and ensure that their code is stable and reliable.
CloudCannon provides tools and a platform that automates this process, making it easy for teams to collaborate and approve changes quickly and efficiently.
Before merging changes in Git and deploying them to production, it's important to ensure that those changes have been approved. In the current scenario, to approve a change, we merge it and then choose to deploy it to the production environment. Once the changes are published, we can delete the unnecessary site. Another option is to publish to production and right after delete the branch that we don't need anymore with just a click.
Back to our Dashboard of our Branch site, under Actions we have the ability to now the Publish changes we did.
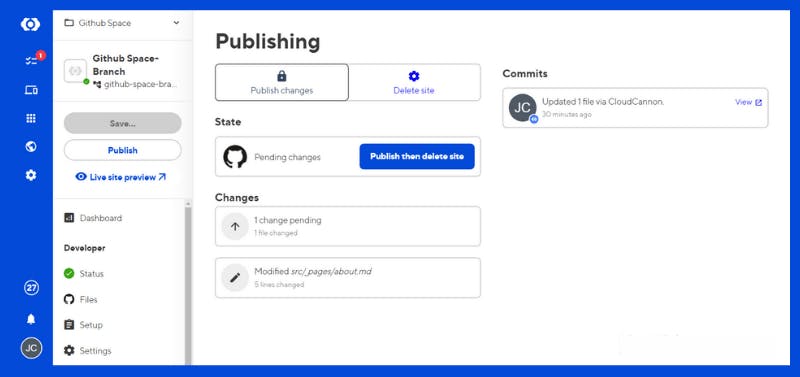
1 - We're going to click Publish changes, a new window will appear called Publishing, and then also delete the site since once it's published we don't really need that branch again. Click on Publish then delete site and Click again to confirm immediatly after.
2 - After making changes, publishing and deleting the branch, we can view the updated content of our main live site GitHub Space. Just click on the arrow button right next to our URL: https://green-cassowary.cloudvent.net and Voilá.
We can finally view the merged updated content. We notice a new line containing the text, 'How to install Git Bash for Windows to your local system?'.

3 - Furthermore, by checking the main branch on GitHub, we can verify that the new changes have been successfully incorporated into our main branch through the Merge branch commit.

Conclusion
In conclusion, the process of creating a new CloudCannon project and adding a new site to enable branching workflows for content editing is simple and straightforward.
This allows businesses to manage their content effectively and streamline their workflows.
Additionally, the ability to stage and publish new content updates on a new branch site ensures that any changes made are thoroughly tested before being merged into GitHub.
By having a system in place to approve changes, businesses can reduce the risk of errors and save time in the long run.
Overall, using CloudCannon for content management and collaboration can significantly improve productivity and efficiency for any organization.
Why you should use Cloudcannon
Upon discovering CloudCannon, I was amazed and realized that this is the ultimate answer to my long-awaited solution. As a result, I spend less time coding, launch websites swiftly, and alleviate my concerns regarding security and backups.
I develop websites on my local computer from severel different locations, but if a client needs urgent changes, I can easily log into CloudCannon from anywhere and make updates using their online code editor. My recent clients love using CloudCannon too, finding it simpler to make updates and work in sections of their site they previously couldn't.
Thanks to the CloudCannon team, any Developer is able to offer his clients a professional managed hosting solution with an online CMS, full version control, external hosting (if needed).
Working with CloudCannon makes everyone happy!
Thanks for the read! Now go practice & build something awesome!